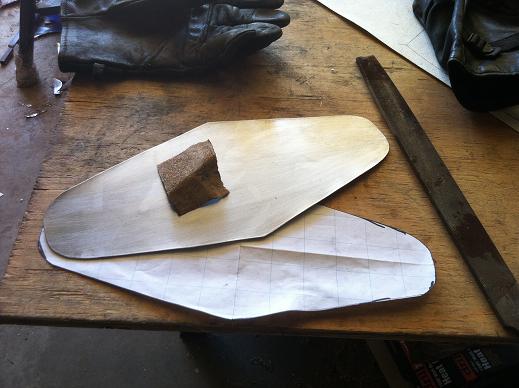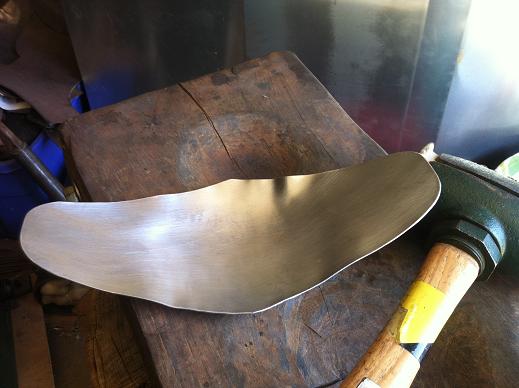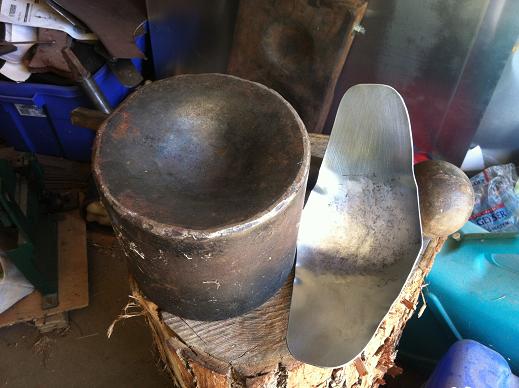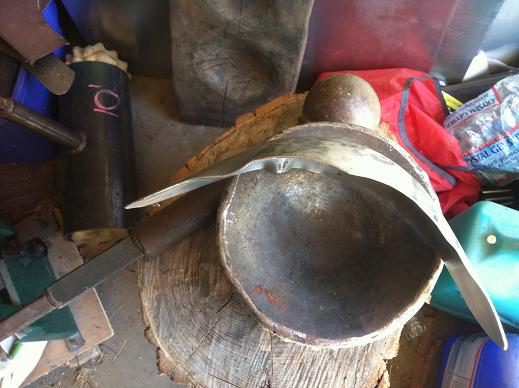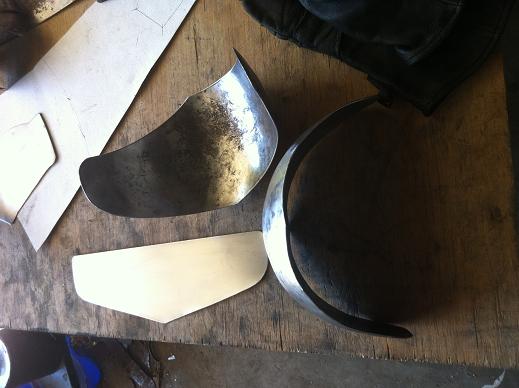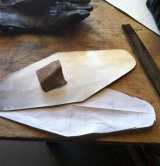
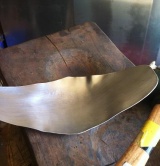
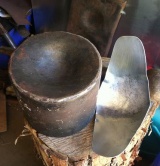
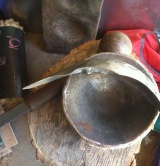
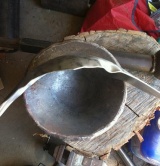
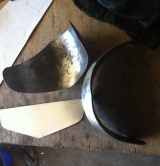
I use large graph paper to make patterns. (Find them at art stores/departments in artist’s size tablets.) The lines make it easier to maintain symmetry while developing your pattern from paper.
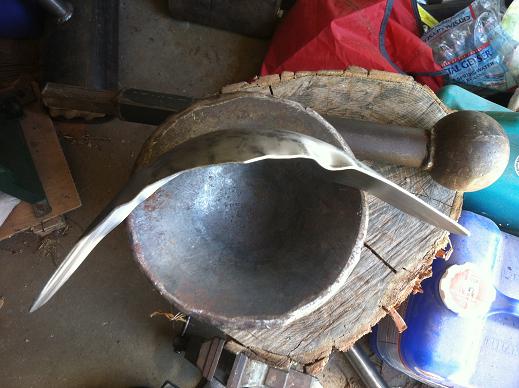
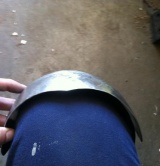
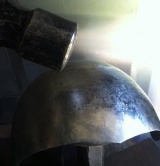
These will be wingless (fanless) knees. Popular with archers, and thus often called “archers knees”. Design is centered around a main plate called a knee cop. (A knee cap is part of your leg. A knee cop is the armor that protects your knee.)
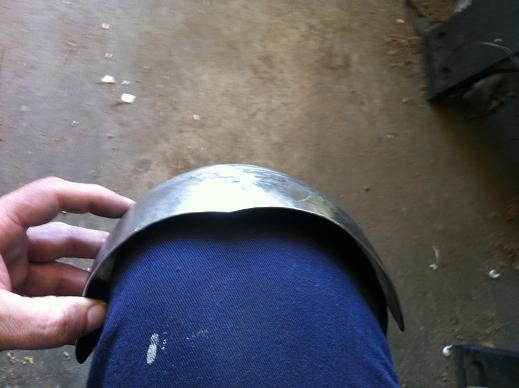
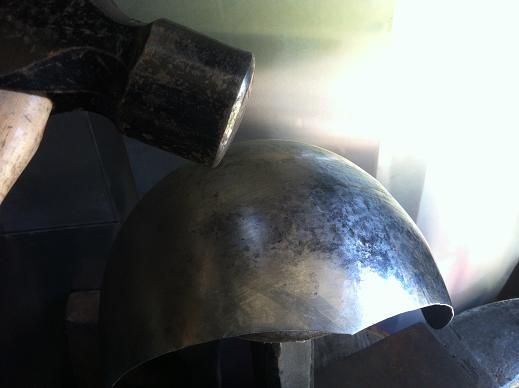
While dishing the knee cop is the most visually obvious part of this project, it is important to note that the final shape does not represent 180 degrees of coverage. Slightly less than 180 around the knee is important for proper articulation. If the knee cop was truly 180, articulation would easily over-extend, causing gaps between the pieces, through which weapons would slip. As with all articulating armor, the pieces must not gap when fully extended/articulated, but should find stop points – limits that stop the armor from opening and closing too far. This must be by design, and the craftsman is responsible for doing this well.
A properly articulated joint, like a knee or elbow, will articulate smoothly and not bind, gap, or feel tight. Any resistance will hinder the wearer’s movements.
